My dev workflow setup
One of the main challenges I faced when I started working in the field was finding a workflow I was comfortable with. Now that I am moving to a new city and switching from hybrid to fully remote work, tweaking my current setup and finding a productive and comfortable remote one became a necessity. In this article, I will share the workflow I have been following for the past 10 months (after I managed to get rid of the M2 mac I received when I joined first). I like it, it's simple, efficient, and doesn't require tiling window managers.
Setup:
- Framework laptop 13", 32GB RAM, 1TB SSD.
- Ubuntu 24
- Main 27" monitor and laptop screen.
- Alacritty.
- Nvim + Tmux.
Workspace-based setup
One of the things I dislike is having too many open windows and relying on Alt + Tab to find the right one. While this shortcut is useful and a productivity booster, having to look at 10+ windows and alt-tabbing repeatedly to find the one you're looking for becomes cumbersome easily! In order to solve this, I switched to a workspace-based setup, where each workspace contains a specific application, and with one key combination (Alt + <WS>), I can switch instantly to what I need.
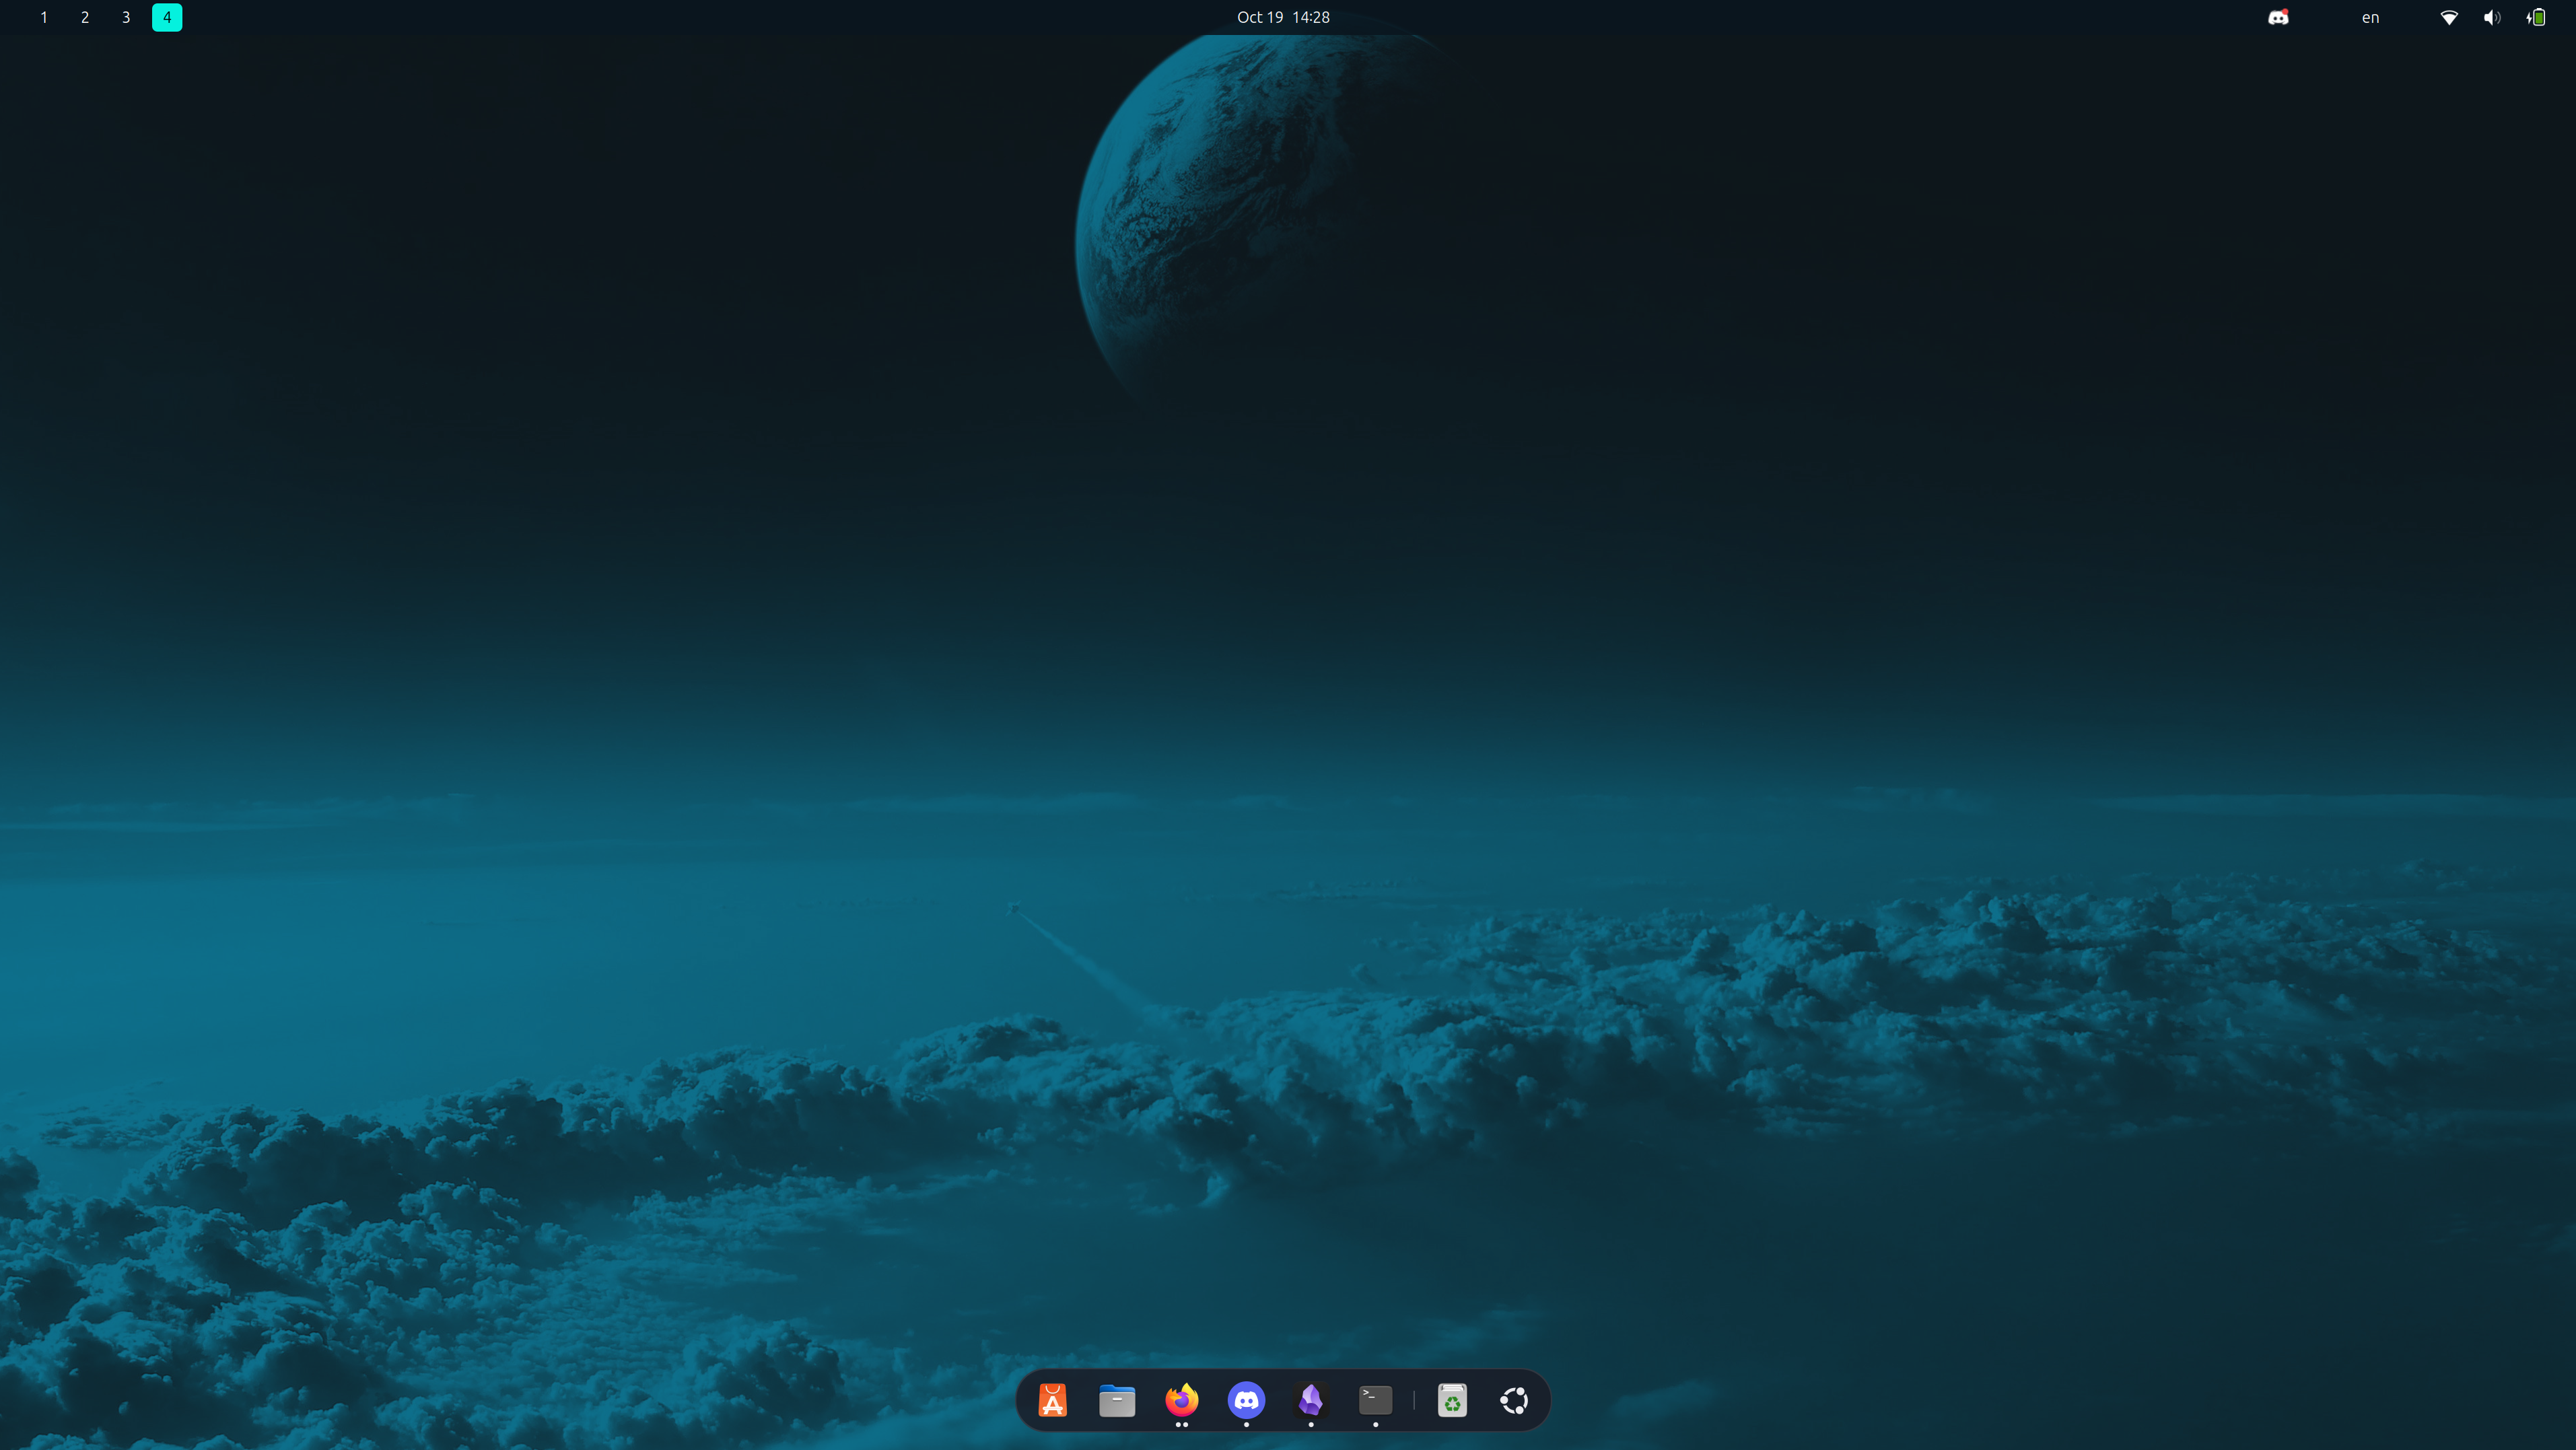
Here is how I ended up structuring my Workspaces:
- Workspace 1: Two browser windows:
- Work: Containing several tabs grouped together: Outlook, Teams, Jira, Confluence, etc. (You can save/group tabs in most browsers).
- Personal: Containing all sites I usually visit: personal email, youtube, RSS feed, etc.
- That might require
Alt + tabwhen you're on a single monitor (not the case on the dual monitor setup below), but that's fine for me since I don't have to spend time finding what I want. I just toggle back and forth between Work and Personal window.
- Workspace 2: Nvim + Tmux setup in fullscreen mode.
- Workspace 3: Discord.
- Workspace 4: Obsidian; My digital brain.
- Workspace 5: Miscellaneous tools (database GUI, Postman, etc.) that I only open occasionally since I mostly use the terminal.
Nvim + Tmux
One key idea behind the Nvim + Tmux setup is, again, avoiding unnecessary Alt + tab usage. If it were only about two windows, then it's fine like WS1, but in this case I often have 4+ code/terminal windows open for different usecases. The key here is to rely on Tmux to setup a main session, call it "work_session" for example, where you always get all the tmux-windows you need every time you start this session. The attached image shows an example of a session that has 4 tmux windows:
- Frontend codebase (web/mob)
- Backend codebase
- Scripts
- Terminal
Whenever I start my day, I can attach to that session and instantly have everything in place, and with prefix + <WIN_NUM> you jump wherever you want.
Using Nvim and Tmux you can structure you environment so that the terminal output is visible alongside the code you're running, which was a challenge I had in the beginning. Assume I am writing FE code and want to see the logs, I need a terminal window for that, but I also have an api where I need to monitor the request received as well. How can I attach one terminal (or more) for each codebase in a clean way without having to hunt the needed window?
That's one of the things nvim + tmux solved for me:
- If you want to write code and keep the terminal open on the other side, then split the tmux window into two panes (or more).
- If you just want to run a command and continue writing code without cluttering the layout, then use a floating terminal window with nvim.
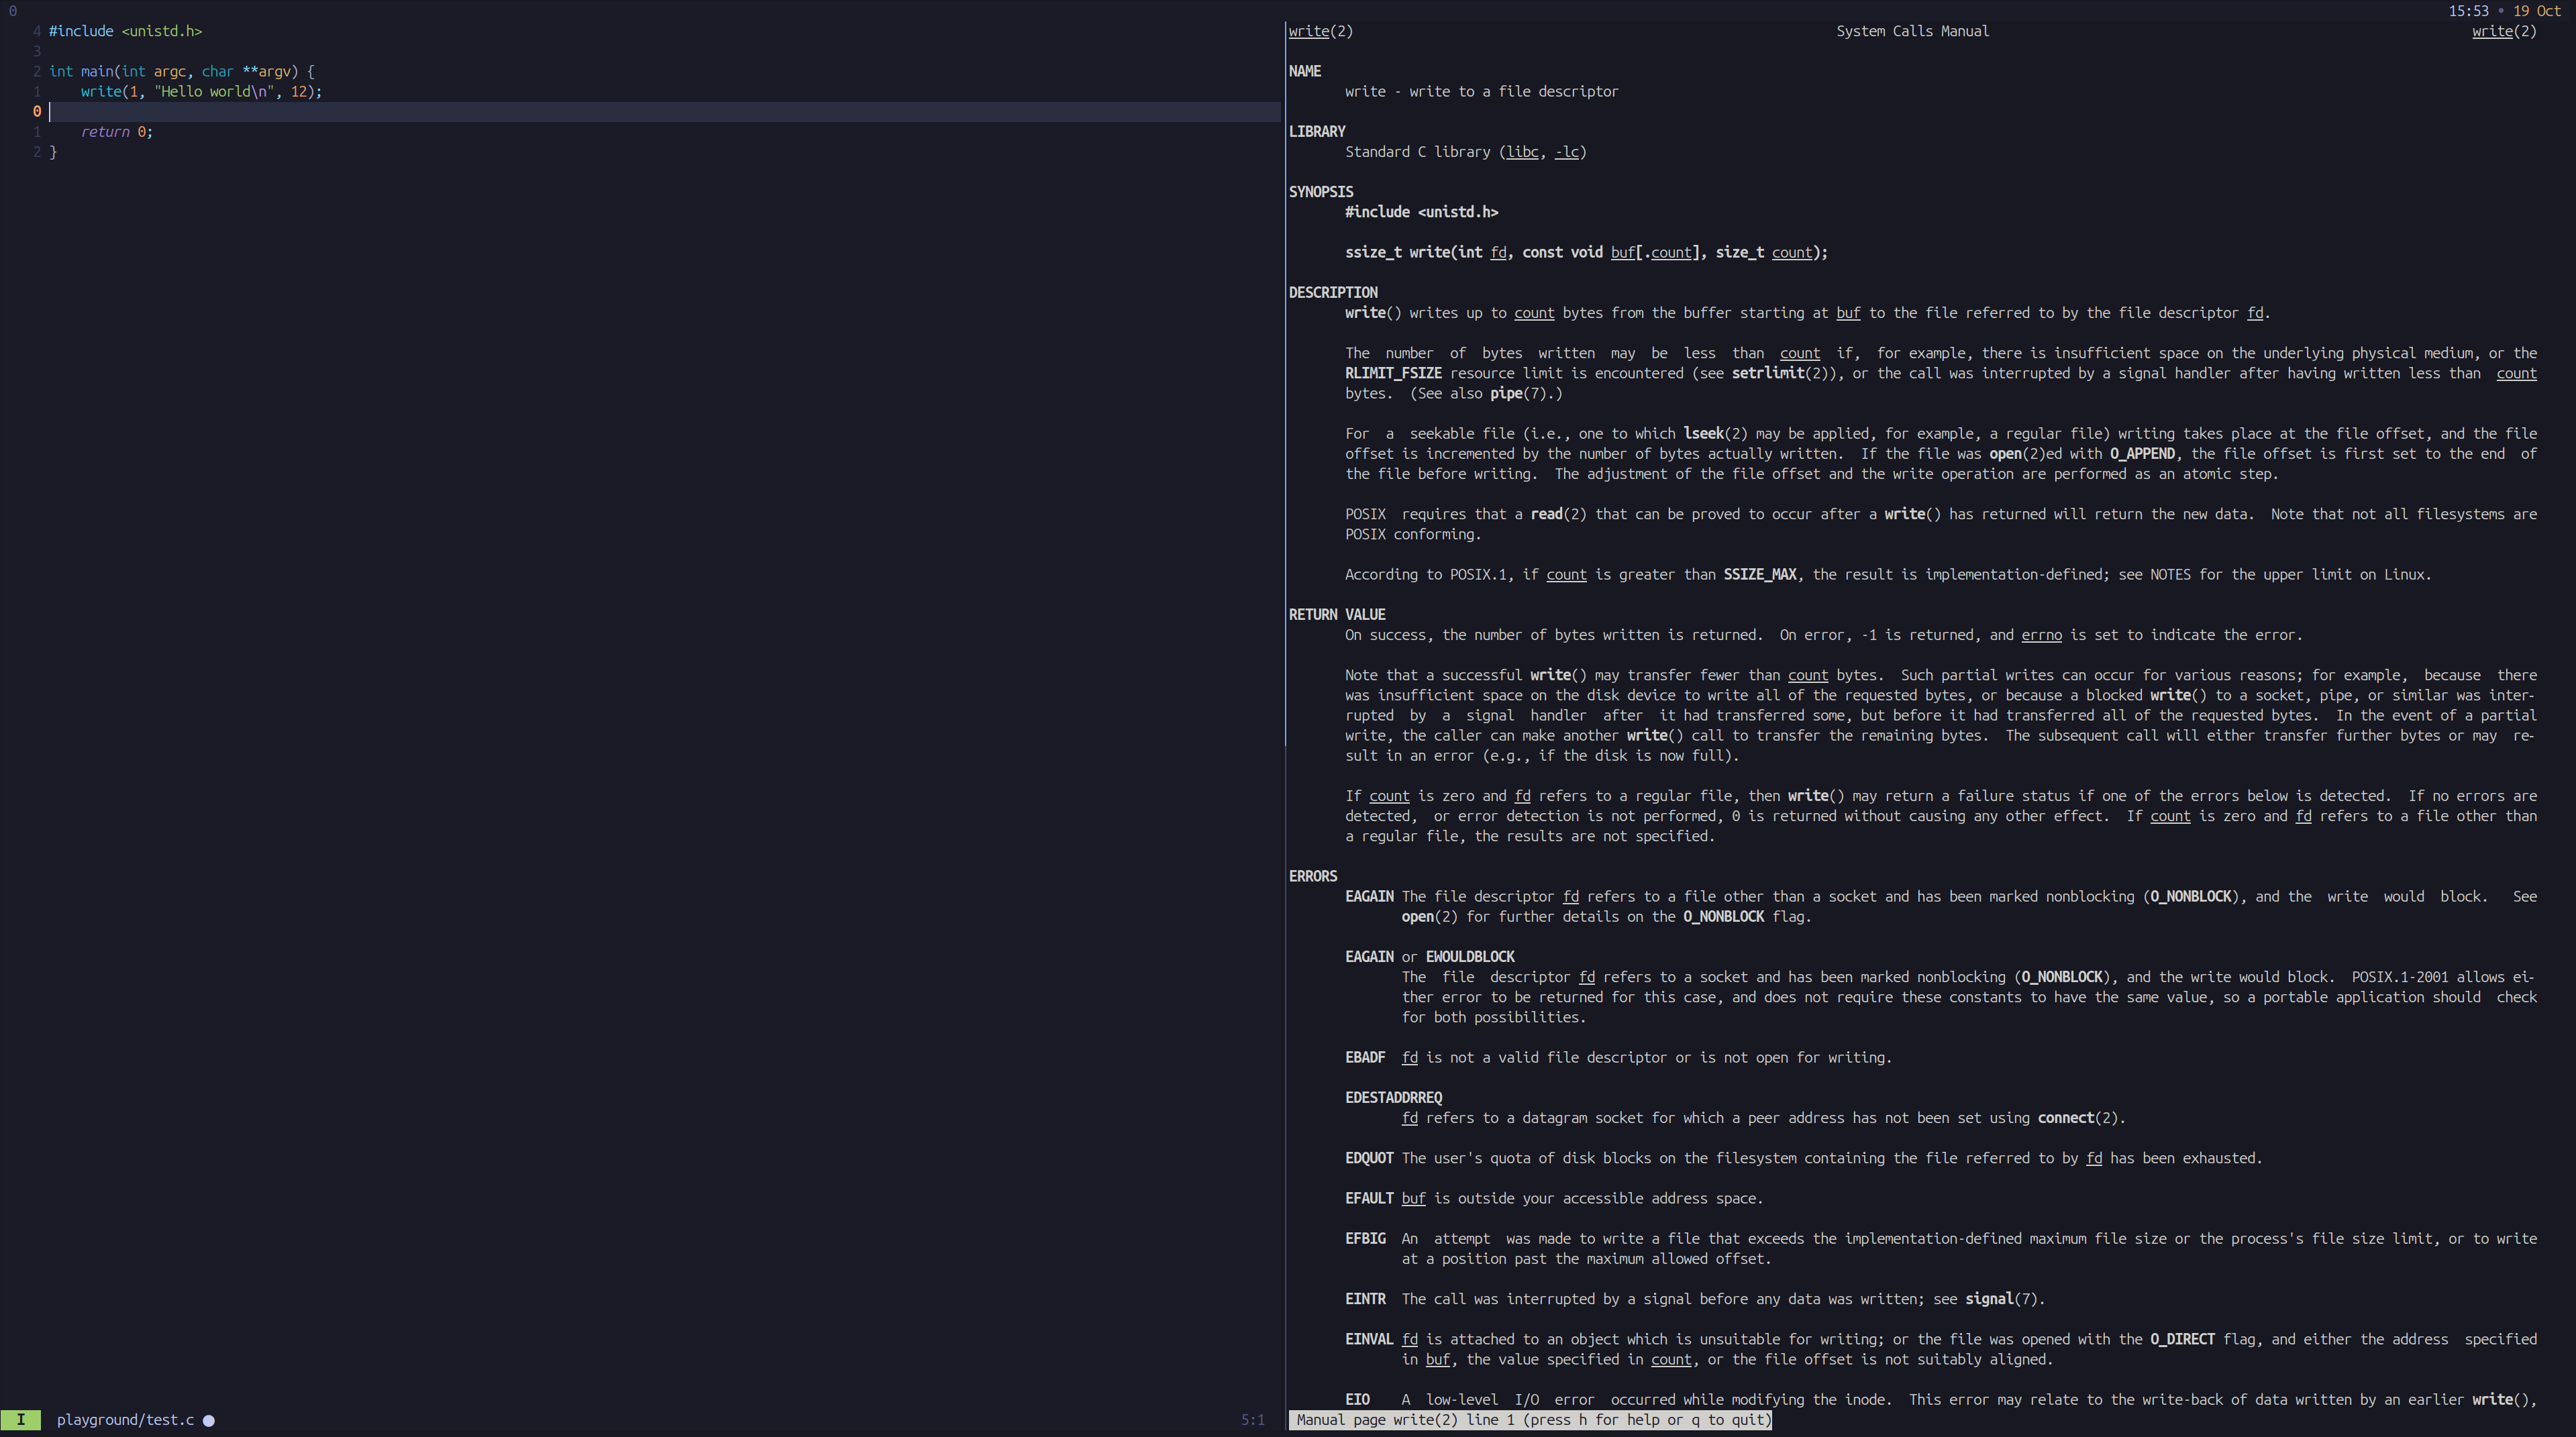
The flexbility is there! You can choose whatever layout makes more sense to your mind.
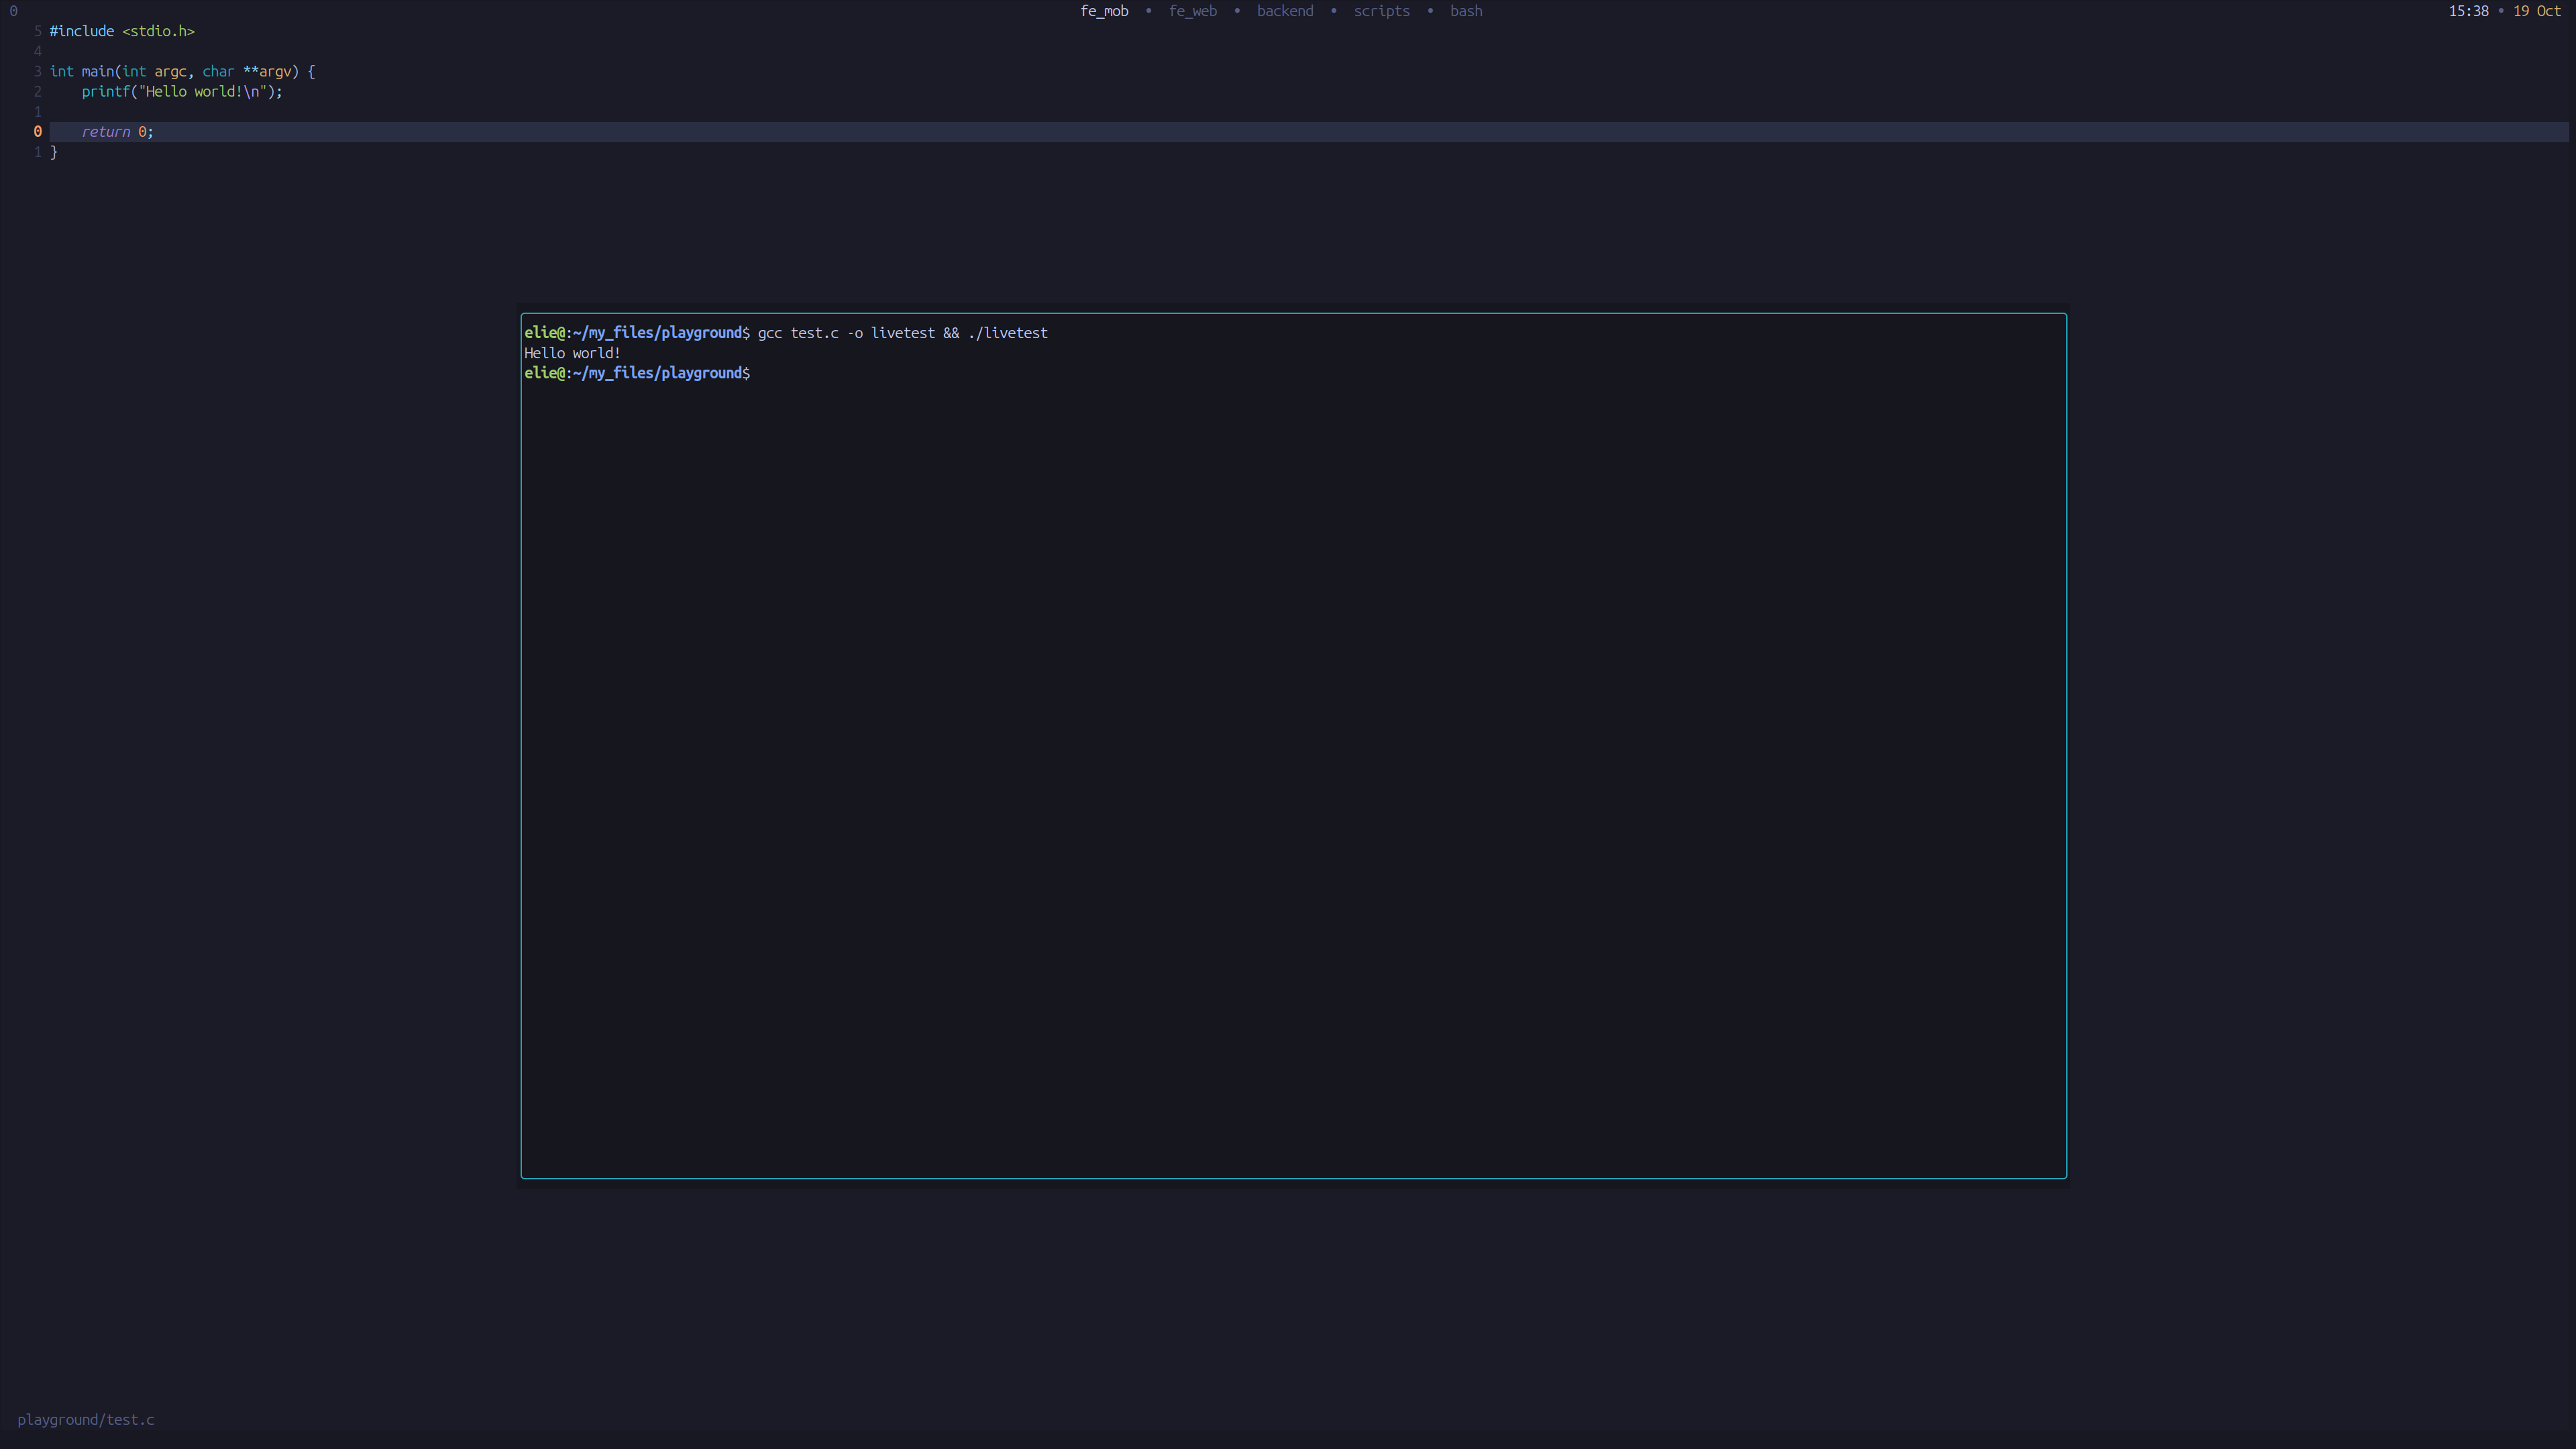
Window Tiling
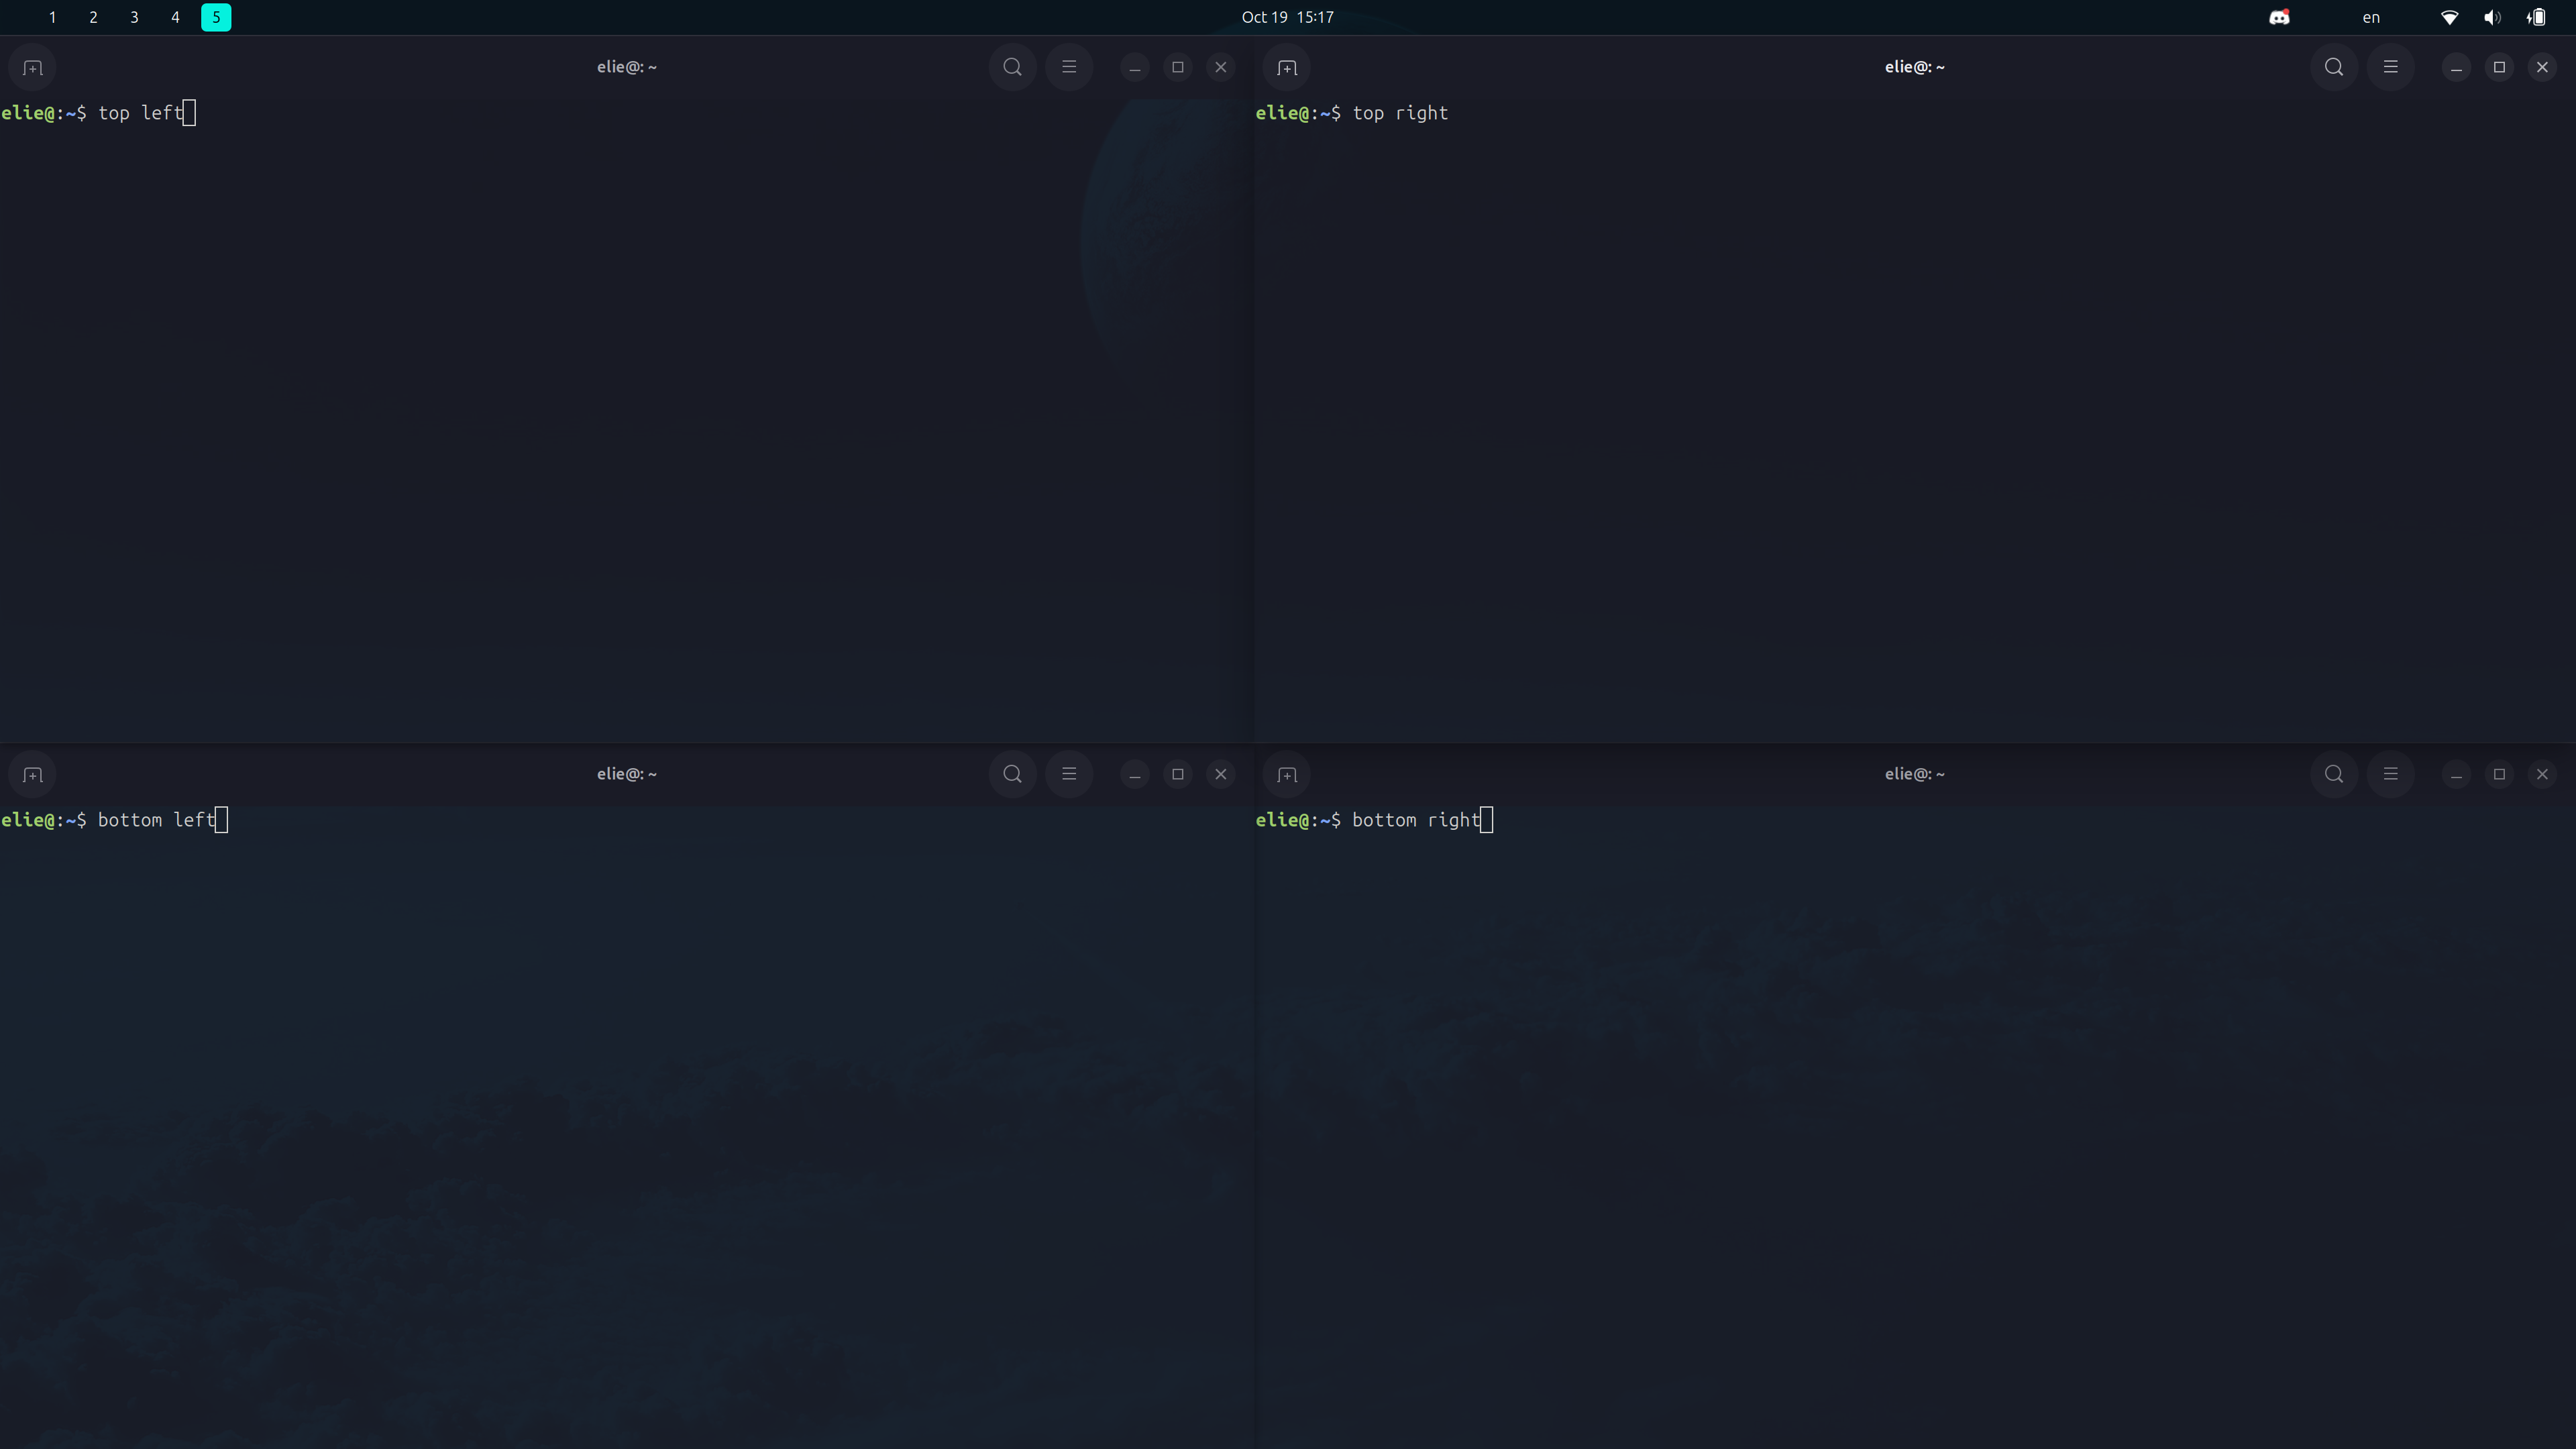
One thing worth mentioning is that Ubuntu comes with default shortcuts to place windows on your screens. All you need to do is press the superkey (winkey) and either the arrow keys or the numeric keypad, and the window will be placed in the corresponding place. Example:
- superkey + 4: Snap the window to the left half of the screen
- superkey + 6: Snap the window to the right half of the screen
- superkey + 9: Snap the window to the top-right part of the screen
- etc.
When you play around with it you will see how intuitive it is. You don't really need a dedicated tiling window manager. Here is an example of what you can achieve easily:
Dual monitor setup
I used the above for quite some time now on a single 32" display at work and it worked perfectly fine for me. Now that I am switching to a completely remote setup, I feel that having a second screen will be handy, mostly for meetings or background content. The main challenge is that by default, GNOME synchronizes workspaces across all monitors; when switching from WS1 to WS2, both screens will switch, which is not what I want! I prefer having the code (WS2) on my big monitor, and some video playing in the background on my laptop screen. Apparently this feature has been causing some challenges for the GNOME team as you can see here, so a workaround is needed. The solution I'm going with is to simply go to:
Settings -> Multitasking -> Set Multi-Monitor to "Workspaces on primary display only".
Then set your big screen as the primary display. This means switching workspaces will only affect your big screen, and you can pin whatever you want on the small screen, it will stay there until you manually close it or drag it. This suits my needs perfectly for now.
Feel at home
I spend most of my time on the computer, so feeling at home in my digital world matters. Whether it's your terminal setup, theme or keyboard shortcuts, If you're a heavy computer user, make sure to take care of your digital environment just like you take care of your physical room, home and real life environment.
Good luck building your digital home!